April 14, 2020 3 min read
There are many good reasons to sprout your grains, beans, seeds, and sometimes even nuts. The main one is to remove phytic acid which is a natural enzyme inhibitor. And, although invisible to the naked eye, soaking for 12 – 24 hours starts the chemical process of germination. This releases nutrients and increases digestibility. So, theoretically, you could stop at this point and get a lot of the benefits your looking for with full sprouting. If you do decide this is enough you can store the soaked seeds in your refrigerator for up to four days or freeze them for up to six months. If you want to keep going, actually fully sprouting the grains (meaning the seedling growth is the same length as the seed) then it will be a slightly different process, which will continue the progression of turning the starches into simple sugars, the protein into amino acids and adding even more vitamins and enzymes.
First, you’ll need to choose a raw organic grain, seed, bean or nut. All of our products at Be Still Farms are raw and organic (except our buckwheat Kasha) and so would be suitable for sprouting.
Start the process by soaking grains and beans for 12-24 hours, seeds (which should be hulled) for 11/2 - 2 hours at room temperature. (Note: unhulled seeds can be 'sprouted' but it is an entirely different process which requires soil). A good ratio will be about half to one cup grain, bean, or seed, with two cups water.
Once your chosen grain, bean, or seed has soaked, drain and rinse thoroughly (you’re getting rid of all of that pesky phytic acid!).
Next you’ll need to set up their sprouting environment. Mason jars with muslin and a rubber band are a popular choice. You can tilt it on an angle (dish racks work well) to be sure the sprouts remain well drained. And that is the key here, ‘well drained’. Our choice is simply a colander with a thin cotton kitchen towel or cheesecloth draped over it. Start with it in the sink and then move to a plate when most of the water has drained out.
DON’T try to ‘store’ them while they are sprouting. They don’t need light, but they do need good ventilation. Just leave them on the kitchen counter if you can. You’ll need to rinse them every 12 hours or so (morning and evening) and possibly more if you live in a very warm climate or during high summer. Both the rinsing and draining are important as they will produce a fresher sprout in the end.
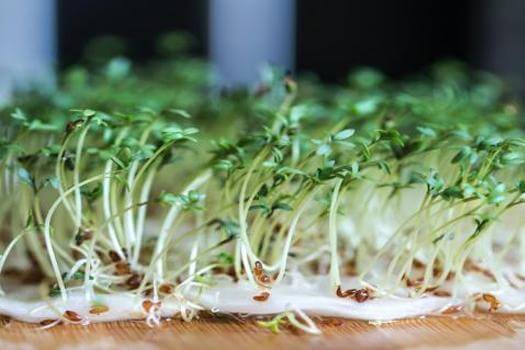
Your sprouts will be ready when they are about a half-centimeter in length (the rule of thumb here is the same length as the seed you are sprouting). This can take from one to several days depending on what you are spouting. Growing past this point will create microgreens. When you harvest is all up to personal taste and preference but don’t rinse them again. They taste better dry. Sprouts will last about a week in the fridge if stored in a glass jar.
If you are feeling very confident, you can dry your sprouted grains in a dehydrator and grind them to make a sprouted flour.
You can also soak nuts and dry them in this way before toasting to get the best of both worlds - crunchy AND extra nutritious!
There is so much to gain from sprouting, better nutrition, easier digestion, less potential for allergies (some people report being better able to tolerate wheat products that have been soaked and rinsed well), and all from just adding a bit of water, and time. Isn't Mother Nature amazing? Happy Sprouting!
❤ Try our USDA certified organic Beans and Grains ❤
Related Blogs:
Thanks for reading this Be Still Farms Blog article. To sign up for more news/articles and/or recipes, click here. For more about us, click here. To shop our certified organic products, click here.
Please comment and share and we look forward to serving you in the future!
Comments will be approved before showing up.
January 27, 2025 3 min read
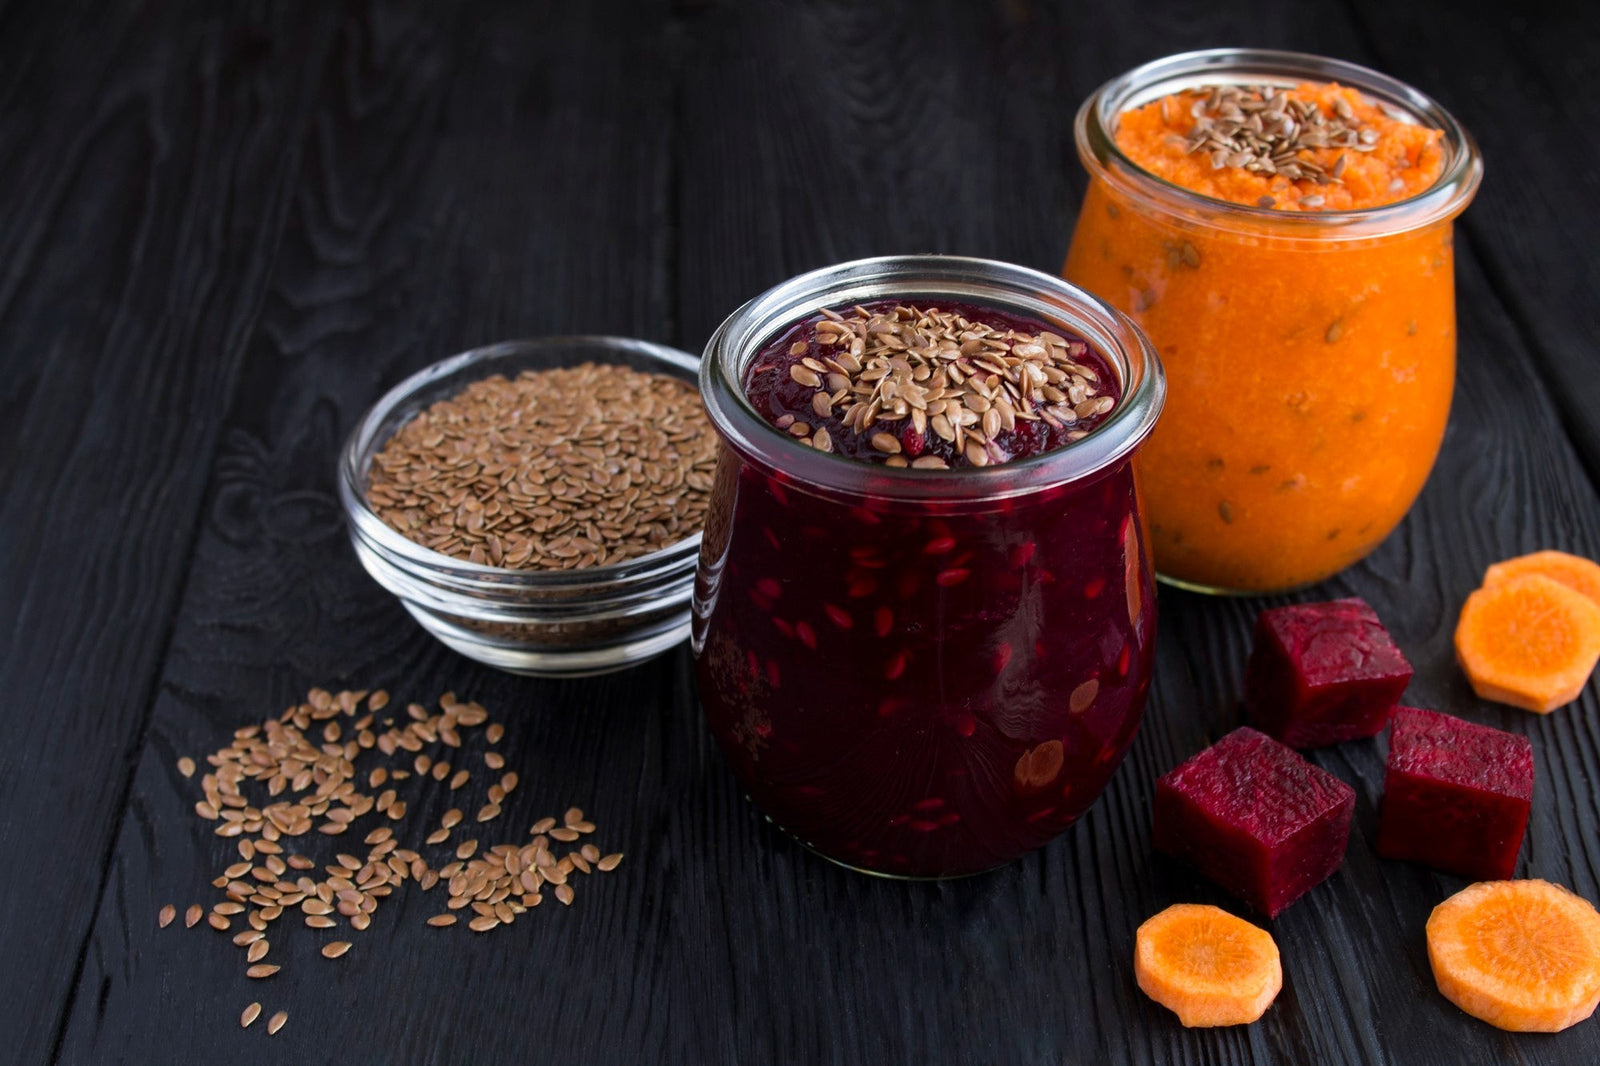
Flaxseed, the tiny yet powerful superfood, is packed with nutrients that can support weight loss. From curbing hunger to stabilizing blood sugar, this guide dives into the science of how flaxseed can help you shed those extra pounds.
December 11, 2024 3 min read
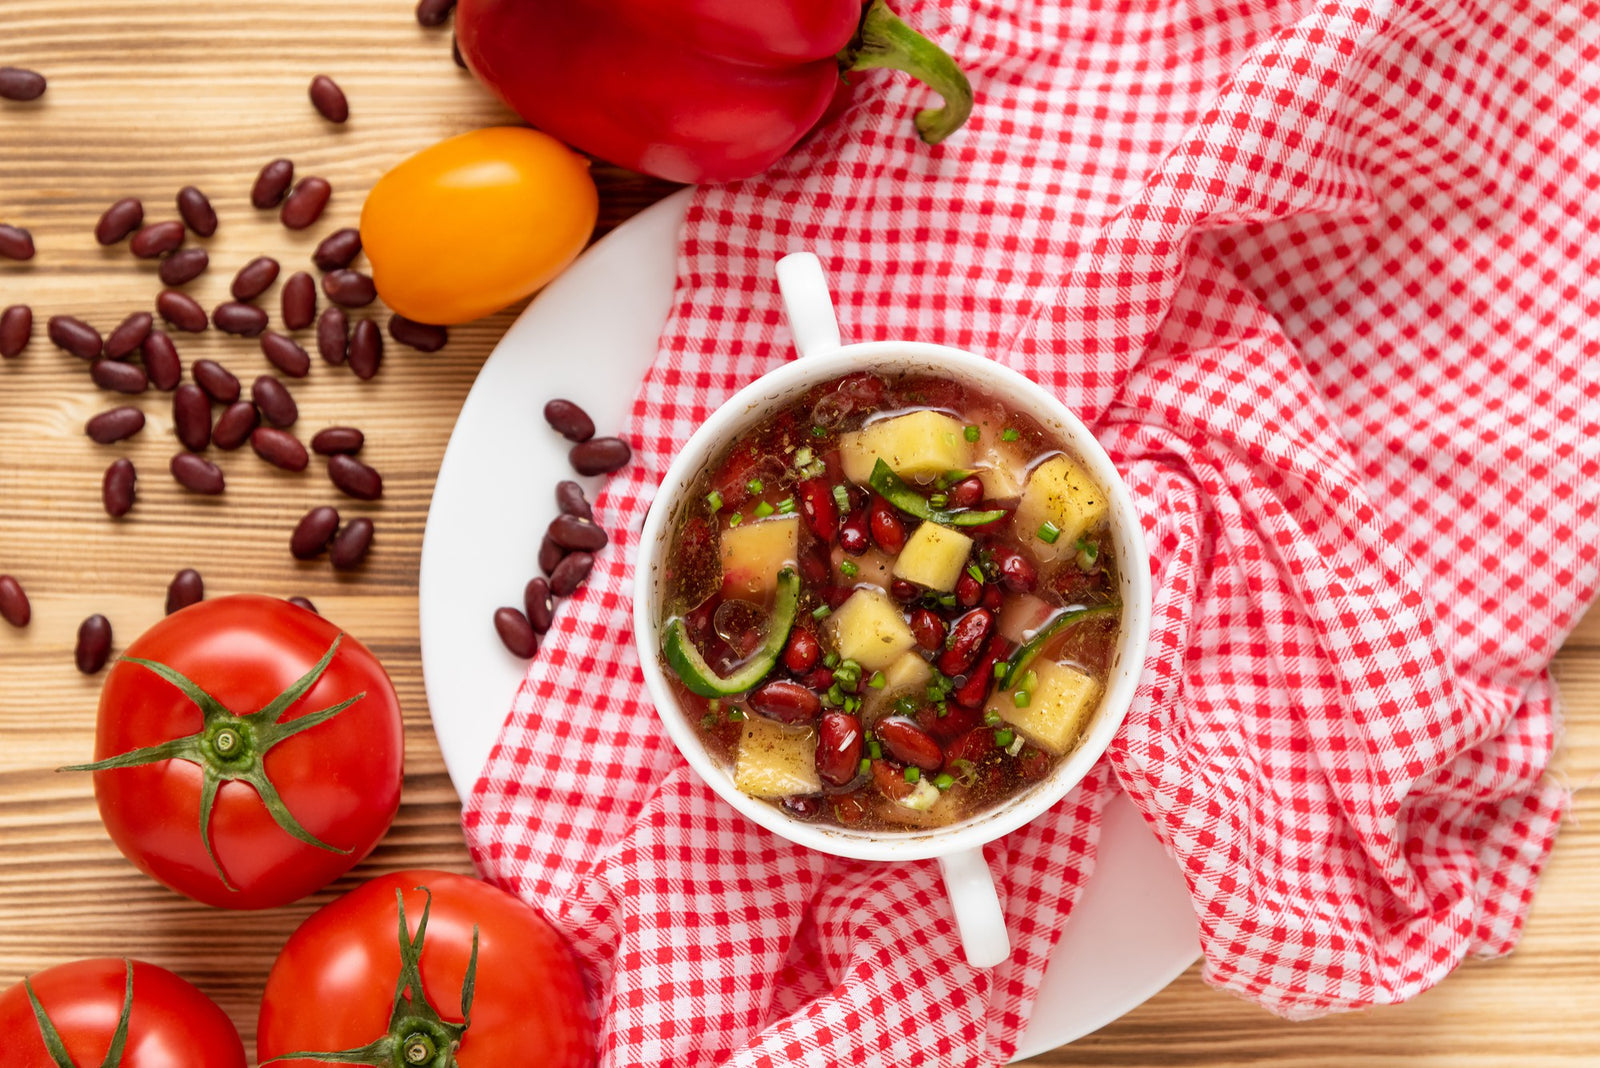
Discover three quick and easy soup recipes featuring organic small red beans. From a classic vegetable soup to a creamy potato blend, these wholesome recipes are perfect for chilly days and busy weeknights. Packed with flavor and nutrition, these soups will warm your heart and soul this winter!
December 06, 2024 3 min read
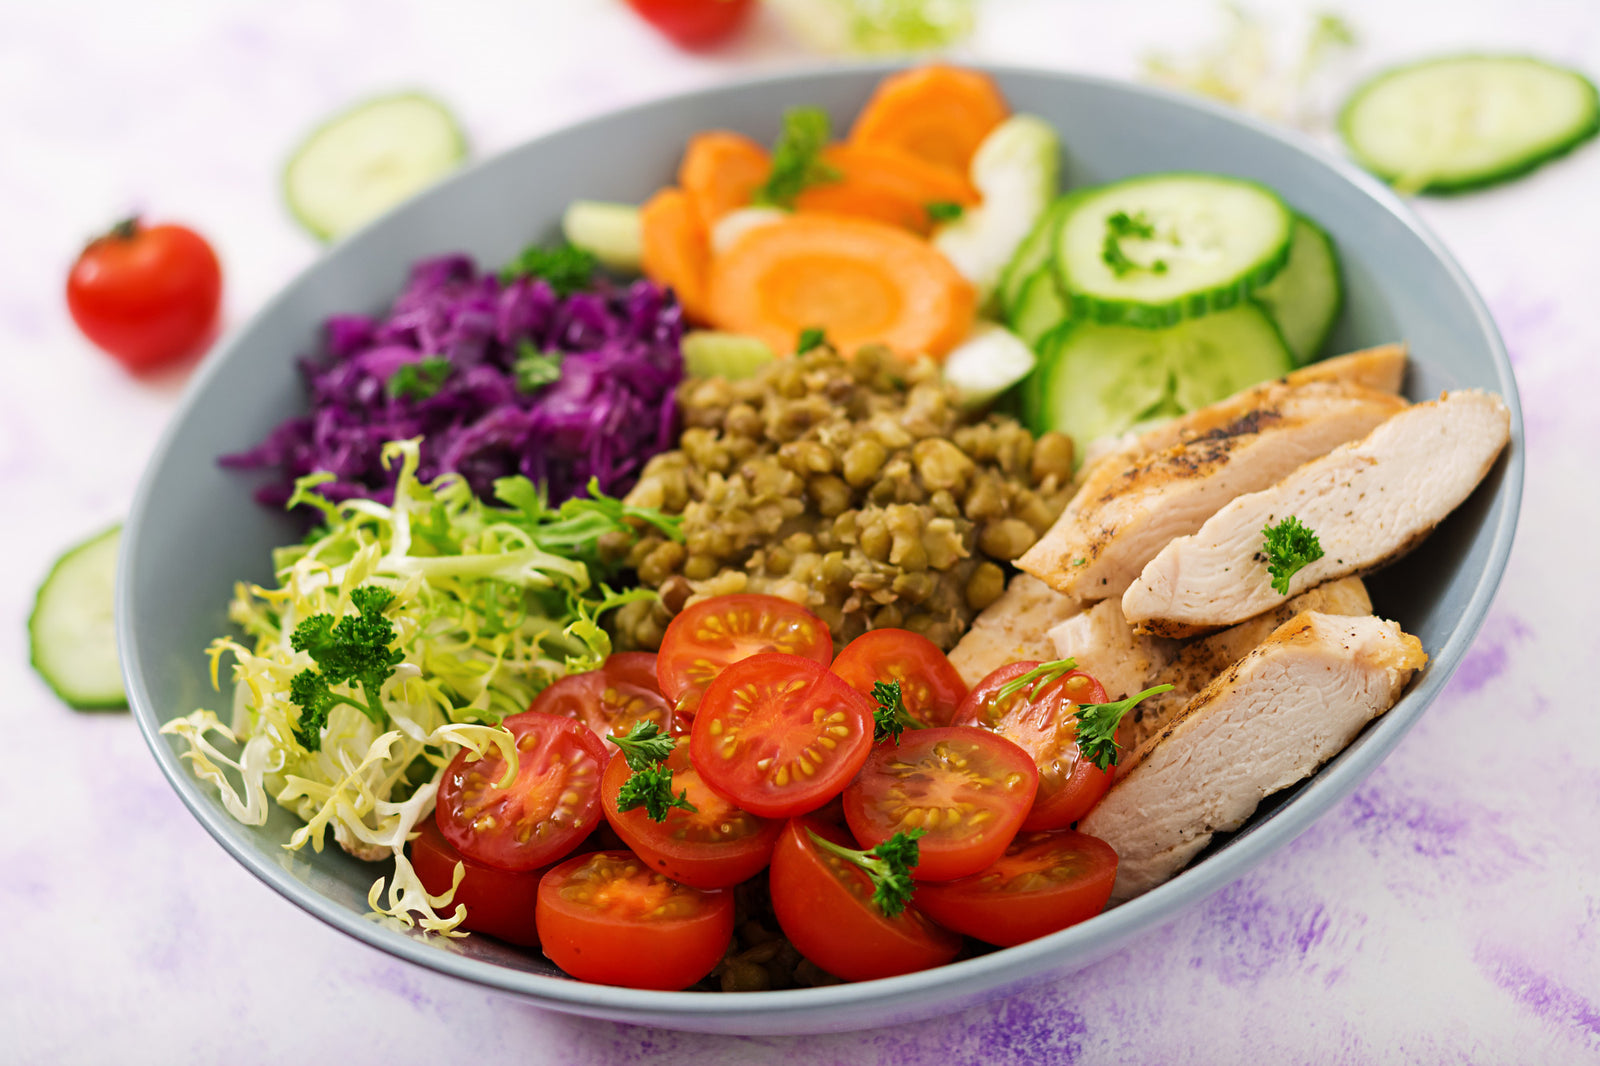
This vibrant and nutritious Green Lentil Salad combines tender lentils with grilled chicken, fresh vegetables, and a zesty lemon dressing. Packed with protein, fiber, and essential vitamins, it’s the perfect healthy meal for any time of day.
© 2025 Be Still Farms- Real, Fine Organics.
Privacy | Terms | Refund Policy | Organic Certification
