

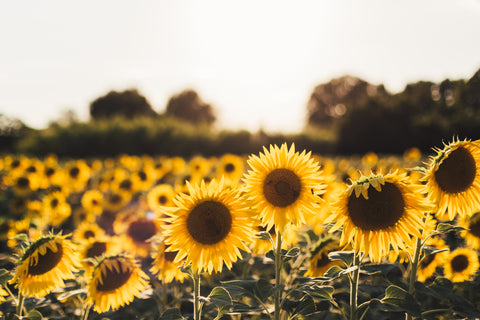
So you’ve decided to try sprouting those sunflower seeds? Well, read on for the full scoop on how to do it and why you should.
You may often hear about people ‘sprouting’ their grains or seeds but there’s a lot left out in this hearsay. The first step to any sprouting is to soak the seed or grain. In fact, you should do this to all your seeds, grains and nuts. Yup, you read right, soak ‘em, for 1 ½ to up to 24 hours before you eat them raw or cook them. For more on this see our blog ‘Why Sprout & Soak? But we digress, back to sunflower seeds.
Like most grains, seed, and nuts, sunflower seeds have a natural enzyme inhibitor and phytic acid to protect the seed until it is in an ideal growing environment. The key ingredient in this ideal environment is, you guessed it, moisture. The thing is, these natural enzyme inhibitors and phytic acid also keep our bodies from being able to digest and absorb the nutrients of the seed. The good news is that they are easily removed by soaking (and then a good rinse). And, although invisible to the naked eye, when soaked for 12 – 24 hours the sunflower seed starts the process of germination. This germination activates nutrients within the seed and increases its digestibility. So, theoretically, you could stop at this point and get a lot of the benefits your looking for with full sprouting. If you do decide this is enough you can store the soaked seeds in your refrigerator for up to four days or freeze them for up to six months. If you want to keep going, actually fully sprouting the grains (meaning the seedling growth is the same length as the seed) then it will be a slightly different process, but you will still be turning the starches into simple sugars, the protein into amino acids and adding even more vitamins and enzymes to your sunflower seeds. Sounds like a good deal!
How to Sprout Sunflower Seeds
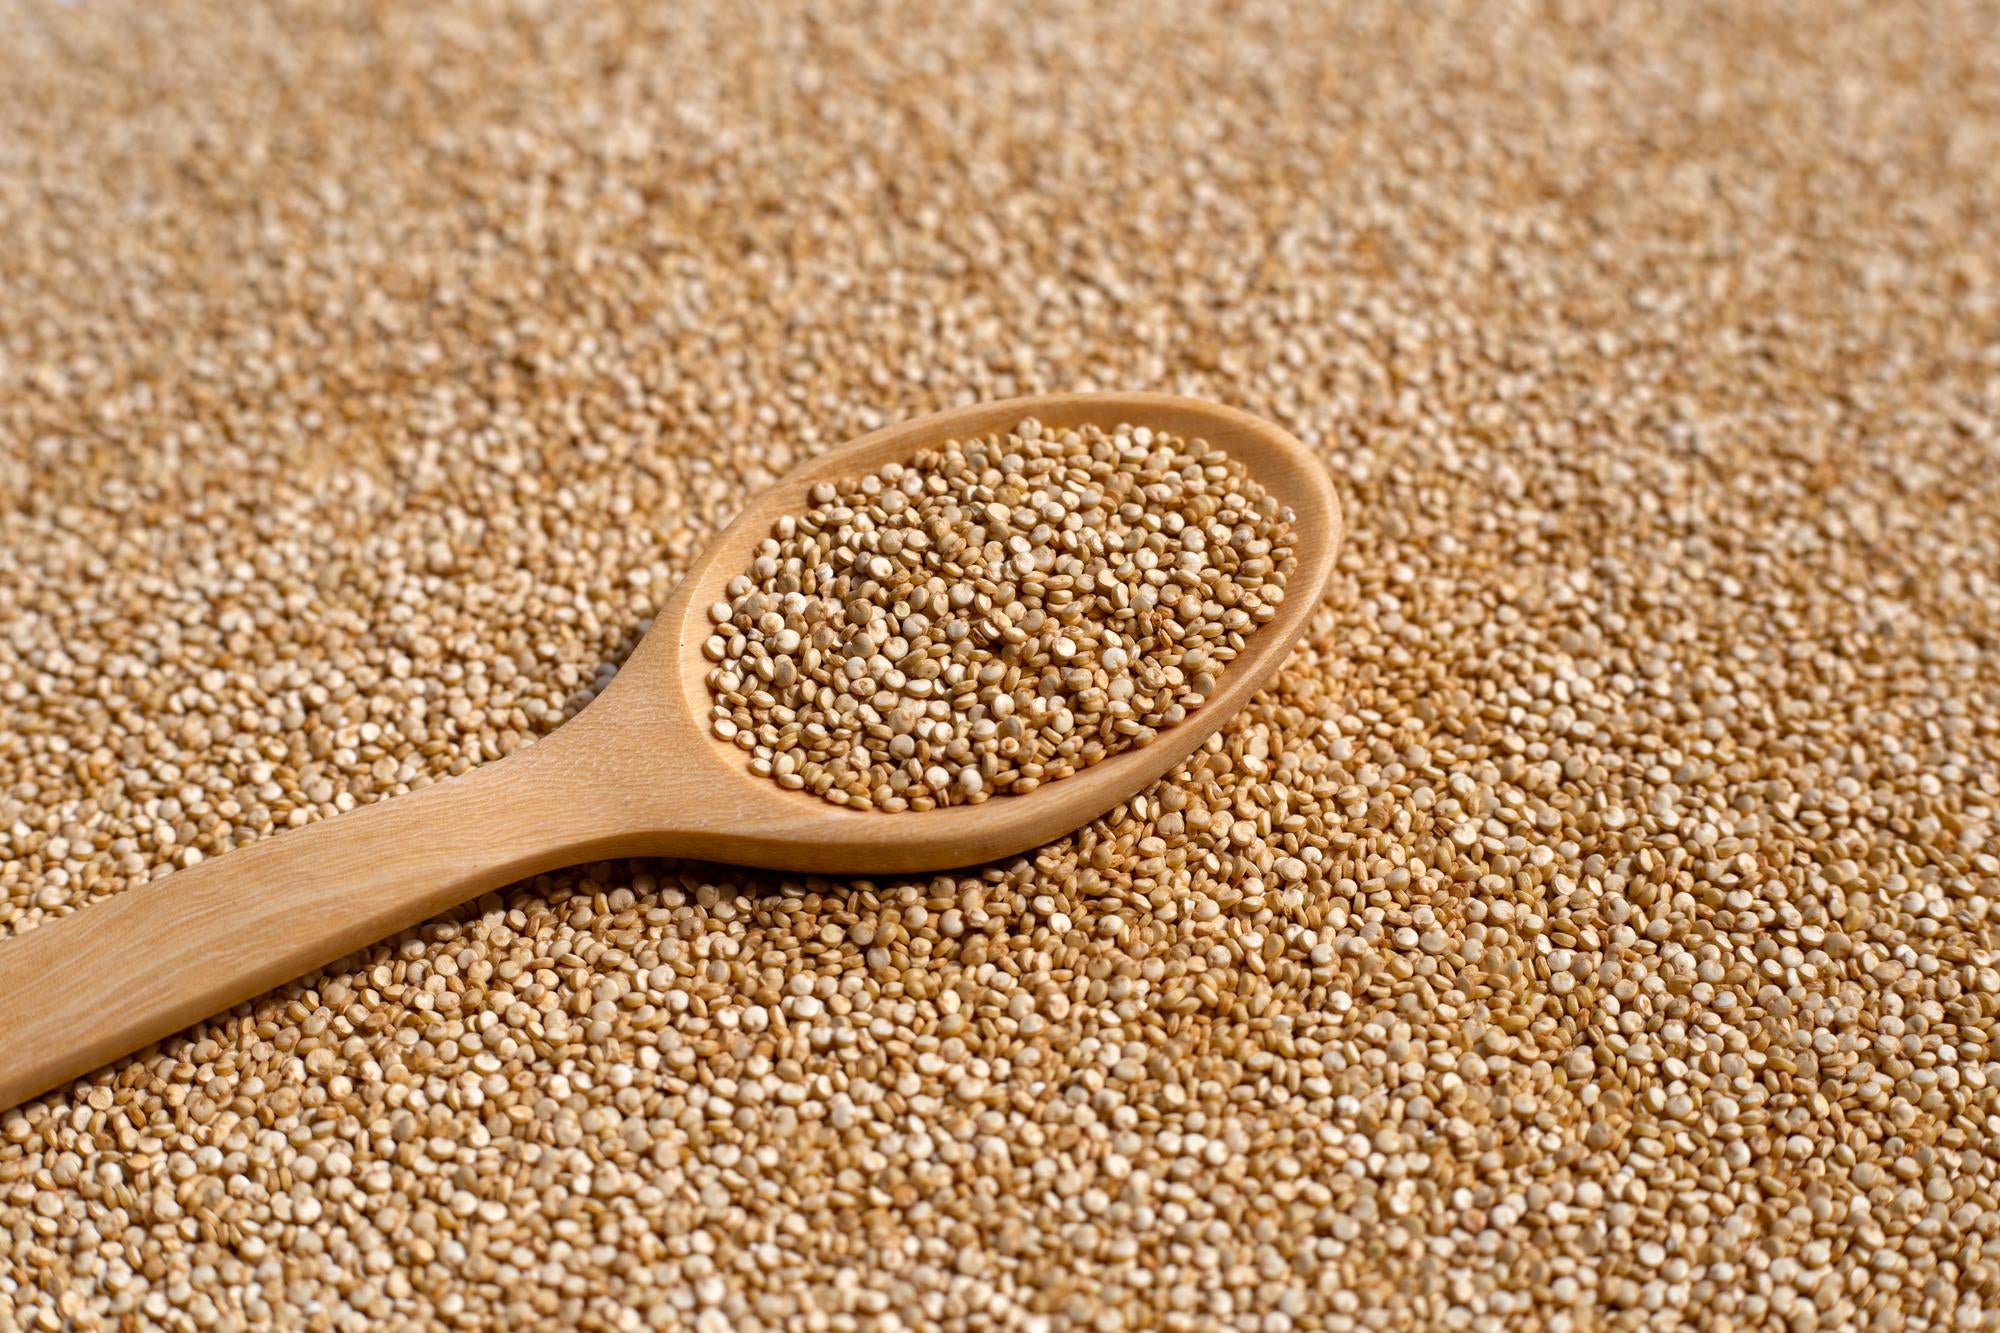
First, you’ll need raw hulled sunflower seeds. We recommend our USA Grown Raw Organic Sunflower Seeds.
Start the process by soaking the seeds for 11/2 - 2 hours at room temperature. A good ratio will be about half to one cup sunflower seeds with two cups water. Next, drain and rinse the seeds thoroughly (you’re getting rid of that pesky phytic acid!).
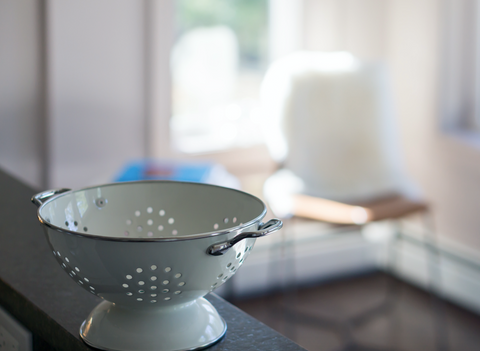
Now you’ll need to set up their sprouting environment. Mason jars with muslin and a rubber band are a popular choice. You can tilt it on an angle (dish racks work well) to be sure the sprouts remain well-drained. And that is the key here, ‘well-drained’. Our choice is simply a colander with a thin cotton kitchen towel or muslin draped over it. Start with it in the sink and then move to a plate when most of the water has drained out.
DON’T try to ‘store’ them at all for sprouting. They don’t need light, but they do need good ventilation. Just leave them on the kitchen counter if you can. You’ll need to rinse them every 12 hours or so (morning and evening) and possibly more if you live in a very warm climate or during high summer. Both the rinsing and draining are important as they will produce a fresher sprout in the end.
Your sunflower seed sprouts will be ready when they are about a half-centimeter in length (the rule of thumb here is the same length as the seed you are sprouting). This will take one to two days. Growing past this point will create microgreens. When you harvest is all up to personal taste and preference but don’t rinse them again. They taste better dry. Sprouts will last about a week in the fridge if stored in a glass jar.
There is so much to gain from sprouting your sunflower seeds, better nutrition, easier to digest, just from adding a bit of water, what’s not to like? Happy Sprouting!
❤ Try our USDA certified organic Sunflower Seeds ❤
Recipes:
Related Blogs:
Thanks for reading this Be Still Farms Blog article. To sign up for more news/articles and/or recipes, click here. For more about us, click here. To shop our certified organic products, click here.
Please comment and share and we look forward to serving you in the future!

Comments will be approved before showing up.


© 2024 Be Still Farms- Real, Fine Organics.
Privacy | Terms | Refund Policy | Organic Certification